Watering Container Grown Perennial Plants
Are you potting up or planting directly? We typically recommend potting up your plugs to grow on into a larger size before planting in your landscape. Should you prefer to plant directly in your landscape, we recommend keeping a close eye on your plugs watering needs while your plants begin to establish in the soil. Your plugs will dry out more quickly than the surrounding soil while they are establishing roots - water enough so that your plugs receive adequate moisture but not so much that they are waterlogged. However you choose to plant, check your plugs daily for the first 4-6 weeks and water when needed.
Planting Container Grown Perennial Plants
Site Preparation
It is important to prepare the planting site in advance. Perennials prefer soil rich in organic matter with good drainage. If the area has not been planted for some time, it may require ‘loosening up’. Turn, or till the soil with a hoe, rake, or shovel to loosen up the soil and prepare it for planting. If the soil appears too sandy, add some compost, topsoil, or other organic matter. If the soil is heavy clay, add sand, compost, or other organic matter.
Perennials should be planted in an area of the garden that offers good air circulation. This helps to avoid disease problems, which lengthens the life of the perennial. With pre-planning and moderate care, perennials will live 3 years and beyond.
Mark your planting locations
Select and mark the planting locations of your perennials. Be sure to provide enough room for your plants to mature. Don’t be tempted to plant according to their current pot size, but look at the mature spacing requirements suggested for each variety. If in doubt of spacing, check our website for spacing requirements. Perennials follow a general rule of growth that ‘the first year they sleep, the second year they creep, the third year they leap!’
Dig a hole
This allows room for loose soil to be backfilled into the hole. Dig the planting hole with a border fork, trowel, or bulb planter, based on the size hole required. The hole should be dug 1 ½ times the size of the actual root ball.
Remove the plant from the pot
Water the plant thoroughly while in the pot. Let the excess drain away and then gently slide the plant from the pot. Take care not to damage the roots or the growing points.
Tease out roots
If the plant is well rooted at the bottom of the pot, tease out the roots along the bottom with a hand fork or with fingers. If the roots appear hardened off at the bottom, trim ½ to ¾ inch away from the bottom with a knife or gardening scissor. This will speed up root establishment.
Add slow release fertilizer
Add fertilizer to the planting soil as recommended by variety, or per application instructions.
Firm the plant in
Place the plant in the hole at the correct depth and backfill with soil. Do NOT plant deeper than the soil line of the potted plant. Perennials planted too deeply can rot at the base. Loosen the soil surface with a hand fork and water in well.
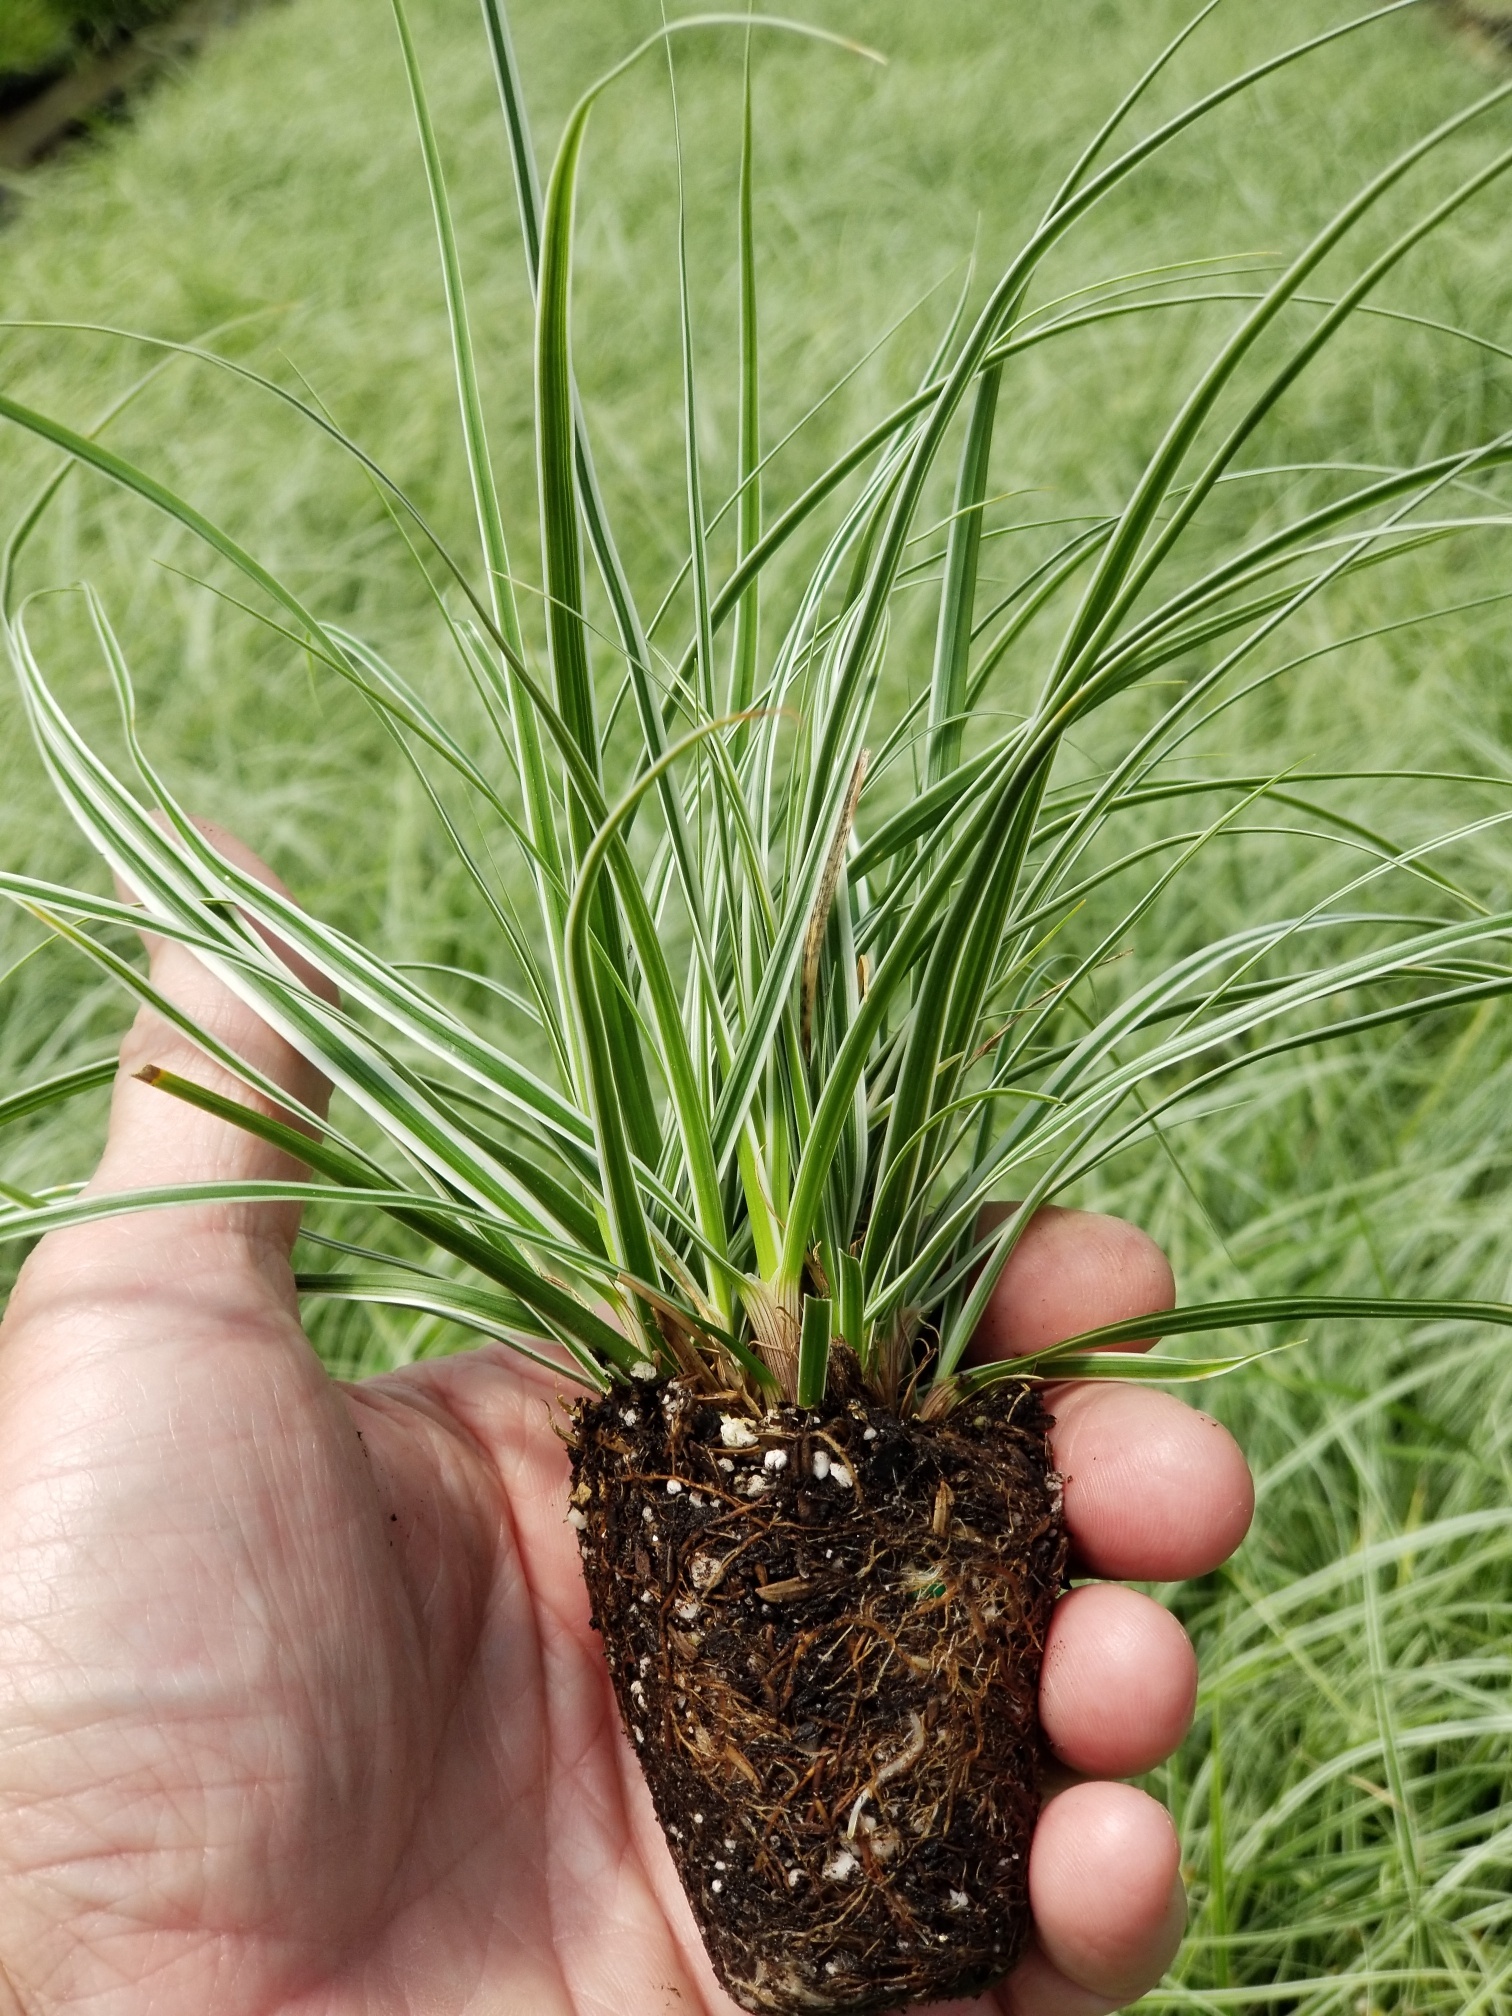
Planting Container Grown Ornamental Grasses
Site Preparation
It is important to prepare the planting site in advance. If the area has not been planted for some time, it may require ‘loosening up’. Turn, or till the soil with a hoe, rake, or shovel to loosen up the soil and prepare it for planting. If the soil appears too sandy, add some compost, topsoil, or other organic matter. If the soil is a heavy clay, add sand, compost, or other organic matter.
Ornamental grasses prefer well-draining soil. Water should soak easily into the soil, with excess draining away. If the planting area is a low spot in the yard, it may hold too much water. If it is a high area or berm, it may shed water too easily. Be aware of water conditions of the location when selecting grasses for the area.
Mark your planting locations
Select and mark the planting locations of your grasses. Be sure to provide enough room for grasses to mature. Grasses are quick growers. Don’t be tempted to plant according to their current pot size, but look at the mature spacing requirements suggested for each variety. If in doubt of spacing, check our website for spacing requirements.
Dig a hole
This allows room for loose soil to be backfilled into the hole. Dig the planting hole with a border fork, trowel, or bulb planter, based on the size hole required. The hole should be dug 1 ½ times the size of the actual root ball.
Remove the plant from the pot
Water the plant thoroughly while in the pot. Let the excess drain away and then gently slide the plant from the pot. Take care not to damage the roots or the growing points.
Tease out roots
If the plant is well rooted at the bottom of the pot, tease out the roots along the bottom with a hand fork or with fingers. If the roots appear hardened off at the bottom, trim ½ to ¾ inch away from the bottom with a knife or gardening scissor. This will speed up root establishment.
Add slow release fertilizer
Add fertilizer to the planting soil as recommended by variety, or per instructions.
Firm the plant in
Place the plant in the hole at the correct depth and backfill with soil. Do NOT plant deeper than the soil line of the potted plant. Grasses planted too deeply can rot at the base. Loosen the soil surface with a hand fork and water in well.
Mulch around grasses
Apply a layer of mulch around the base of the grasses. There are many recommended mulch materials available at varying costs from local garden and landscape businesses. Composting yard wastes and brush can also be chipped and used as mulch. Mulching is very important. Tests have shown that mulched soil can be as much as 30 degrees cooler than bare soil. Mulch helps to prevent weed growth, conserves moisture in the soil, reduces heaving of small plants when freezing and thawing of the soil occurs, and reduces soil erosion on slopes.